Boss Rush
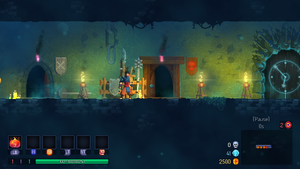
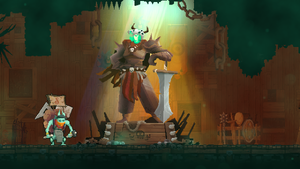
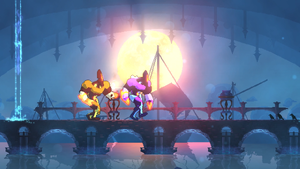
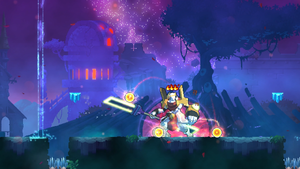
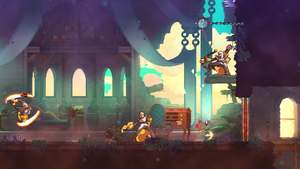
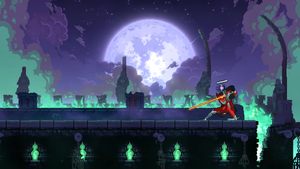
Boss Rush is an alternative game mode that is accessible in the starting area of the Prisoners' Quarters. In this mode the player can fight bosses back-to-back with items they receive throughout the trials, without traveling through the regular biomes. It has 4 trials, with only the first being unlocked at the start. Completing a trial will unlock the next one.
General[edit]
Access[edit]
To access the Boss Rush, one needs to encounter at least 3 bosses (one Tier 1, one Tier 2, and one Tier 3). Though accessing the 3rd & 4th trial that contain 5 bosses instead of 3, one needs to encounter at least 5 bosses (two Tier 1, two Tier 2, and one Tier 3). If the player has encountered additional bosses, then those can be randomly chosen as a Tier 1/2/3 boss during a trial.
Gameplay[edit]
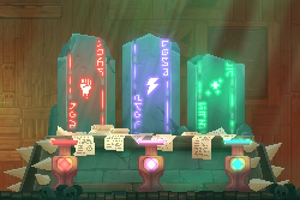
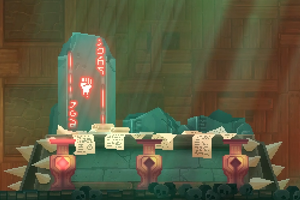
At the start of a rush, there is a choice between Brutality, Tactics, and Survival in the form of three Stat-Stones. Choosing one will automatically give the player stats relevant to the chosen colour and supply the player with 3 choices of relevant builds at the start of the trial in the form of tubes. Once a colour is chosen, the player won't be able to change the colour and will only find items with that main stat colour during the run (the only exception being the first colourless altar and any legendary ones). Interacting with a second and third Stat-Stone will increase the stats of the player.
Each boss drops loot in the form of two items (one weapon and one skill) and a fixed amount of gold. The last boss will only drop around cells (around 150-300, depending on the trial), which then can be invested into the Legendary Forge or the Collector at the end of the run. Cells don't carry over outside Boss Rush.
These items are disabled during Boss Rush:
- RotG
- Spoiler SkillRotG
Transition Rooms[edit]
These will be present in every transition room:
- Guillain: Players are able to choose mutations in every transition room during a trial.
- The first reroll will always be free.
- Though rerolling mutations further will cost gold.
- Rerolling will never cost money in the first Guillain.
These will be present in every larger transition room (after every boss in the 1st & 2nd trial and after every two bosses in the 3rd & 4th trial):
- Stat-Stone: Interacting with it gives the player more stats.
- Item-Altar: A two-choice-altar (with a weapon and a skill) will appear at the beginning of the transition area.
- A colourless three-choice-altar (with one guaranteed weapon & skill) will appear instead at the beginning of a run.
- *** The colourless altar can hold items from other colours.
- If the previous boss has been slain flawlessly, then a legendary three-choice-altar (with one guaranteed weapon & skill) will appear instead.
- This only happens in the 2nd & 4th trial (possibly due to a bug) and not in DIY mode.
- The legendary altars can hold items from other colours.
- A colourless three-choice-altar (with one guaranteed weapon & skill) will appear instead at the beginning of a run.
- The Blacksmith's Apprentice: Players are able to upgrade items or reroll their affixes.
- Shops: Two shops (weapon & skill) will provide the player with more gear. The shops default to coloured shops even if old shop category modifier is on in Custom Mode.
At the end of a run:
- Legendary Forge: After the run has been completed, the player gets the choice to invest their cells into the Legendary Forge. All cells not invested will be lost.
- Loot: A chest that contains rewards is located at the end of the last transition area, alongside the Mentor Knight NPC.
DIY Boss Rush[edit]
After beating trial 3 for the first time, a new door will be unlocked. When interacting with it, a menu will open up with all unlocked bosses. The player is able to select which bosses they would like to be able to encounter and what version. It's even possible to mix normal and modified bosses in the same run. After the run you have access to the legendary forge to spend the cells gathered during the run. No chest rewards at the end (even if the run is equivalent to a normal run). There is a bug in DIY Boss Rush that lets the player acquire the Dracula outfit blueprints after beating Dracula-Final Form. This only works for the Dracula outfits.
Rewards[edit]
Items[edit]
Rewards are locked behind specific conditions:
- (Trial 1)
- (Trial 2)
- (Trial 3)
- (Trial 2, 0-2 BSC)
- (Trial 4, 0-2 BSC)
- (Trial 2, 3-4 BSC)
- (Trial 3, 3-4 BSC)
- (Trial 4, 3-4 BSC)
- (Trial 2, 5 BSC, flawless)
- (Trial 3, 5 BSC, flawless)
- (Trial 4, 5 BSC, flawless)
The Statue[edit]
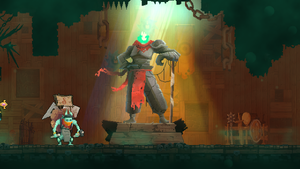
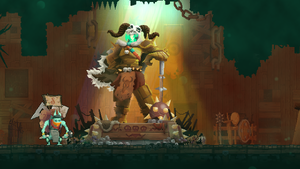
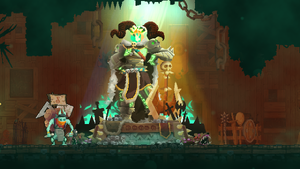
A statue of the Beheaded with customizable parts. The statue itself is unlocked by beating the 1st trial. New parts are locked behind Boss Rush victories. To unlock every statue reward, the player needs to clear every trial at least 6 times (except for the 1st trial which needs to be cleared 5 times):
- 0-2 BSC
- 3-4 BSC
- 5 BSC
- 0-2 BSC, flawless
- 3-4 BSC, flawless
- 5 BSC, flawless
Cells[edit]
In Boss Rush, bosses drop double the amount of Cells compared with Normal Mode.
| Boss | Cells dropped | |
|---|---|---|
| Tier 1 | The Concierge | 24 |
| Conjunctivius | 40 | |
| Mama TickTBS | 32 | |
| DeathRtC | 80 | |
| Tier 2 | Time Keeper | 40 |
| The GiantRotG | 60 | |
| ScarecrowFF | 50 | |
| DraculaRtC | 80 | |
| Tier 3 | The Hand of the King | 80 |
| The ServantsTQatS | 46 | |
| The QueenTQatS | 80 | |
| Dracula - Final FormRtC | 40 |
The quantity of Cells is also multiplied according to the current active number of Boss Stem Cells.
| BSC | 0 | |||||
|---|---|---|---|---|---|---|
| Cell multiplier | x1 | x1 | x1.1 | x1.15 | x1.2 | x1.25 |
Mechanics[edit]
General[edit]
A Boss Rush trial is not counted as a "game", hence the total number of games and death count will remain unchanged during attempts. If the game is exited during or in between fights, the player will reset in front of the trial door as if the run was lost.
Trials[edit]
There are 4 different trials in Boss Rush, with each being harder than the previous. A 3 bosses and 5 bosses trial, without and with modifiers. The player will be fighting alternative versions of bosses with extra abilities in the trials with modifiers.
- Trial 1:
- 3 bosses back-to-back
- One Tier 1, Tier 2 & Tier 3 boss
- Trial 2:
- 3 bosses back-to-back with modifiers
- One Tier 1, Tier 2 & Tier 3 boss
- Trial 3:
- 5 bosses back-to-back
- Two Tier 1, two Tier 2 & one Tier 3 boss
- Trial 4:
- 5 bosses back-to-back with modifiers
- Two Tier 1, two Tier 2 & one Tier 3 boss
Bosses will be selected from these 3 tiers:
- Tier 1:
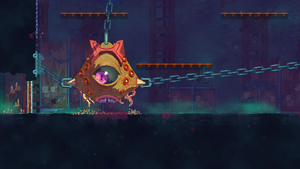
- The Concierge
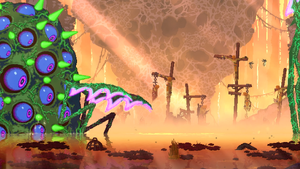
- Conjunctivius
- Mama TickTBS
- DeathRtC
- Tier 2:
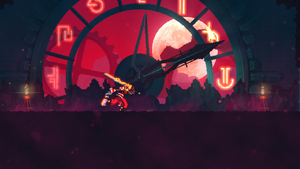
- The Time Keeper
- The GiantRotG
- The ScarecrowFF
- DraculaRtC
- Tier 3:
- The Hand of the King
- The ServantsTQatS (final room)
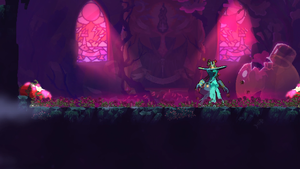
- The QueenTQatS
- Dracula - Final FormRtC
Modified Bosses[edit]
The Concierge[edit]
- Twins: A second Concierge is in the fight.
- They don't scream or create a force shield upon changing phases.
- They only have 4 phases
- They don't gain attack speed on low HP (stage 5 & 6 mechanics).
Conjunctivius[edit]
- Conjunctivius only moves once instead of twice between attacks.
- Spawns up to 4 Tentacles continuously. (Needs verification)
- She only has one Tentacle Phase:
- Activates when she reaches 50% HP.
- Will spawn 5 additional Tentacles.
- If one didn't slay the continuously spawning Tentacles, then there can be up to 10(?) Tentacles.
- She screams a total of 5 times:
- 1st scream at 90% HP (Bullet Hell afterwards)
- 2nd scream at 70% HP
- 3rd scream at 50% HP (Tentacles afterwards)
- 4th scream at 30% HP (Bullet Hell afterwards)
- 5th scream at 10% HP
Mama TickTBS[edit]
- New attack: Unique Scythe Stabs that move from:
- Left to right
- Right to left
- Middle to edges
- Edges to the middle
DeathRtC[edit]
The Time Keeper[edit]
- Heals to full health after transitioning to her 3rd phase.
- She skips her first phase on 1BC+.
- General cooldown reduction on attacks and between attacks.
The GiantRotG[edit]
- Has 4 hands instead of 2
- Attacks with two hands in quick succession (double swipe, double slam, slam-swipe, etc.).
- Starts in phase 3. (Needs confirmation)
The ScarecrowFF[edit]
- Stomp:
- Throws 4 Sickles instead of 2 per Stomp.
- Seed Throw:
- Throws 2 Sickles per Seed Throw.
- Can now spawn up to 4 mushrooms instead of only 3.
- Pitchfork Jab:
- Can spawn a Yeeter with the first attack.
DraculaRtC[edit]
- Fireball and meteor attacks now fire more projectiles that can't be parried.
The Hand of the King[edit]
- Has a different AI that forces more moves (Slash-Slam into Super Slam, 4 Charges, etc.).
- Is also more aggressive.
- Has a new two-combo attack:
- The first Slash's hitbox extends behind HotK and has the sound cue of the Time Keeper's Hook Throw.
- The second Slash is similar to the third Slash in his Triple-Slash attack.
- Added a 2nd slam after Slash-Slam.
- Doesn't use his Exploding Flags attack.
- Starts in Phase 3, but has an enemy phase.
- Spawns HPC enemies during phase change.
The ServantsTQatS[edit]
- Arena now has wall Spike & Ball Spike traps on the walls and ceiling.
- They are more aggressive.
- All three servants can be in the arena at the same time.
- Euterpe:
- She can use her normal attack up to 5 instead of 3 times.
- Her Arrow Salve will fire 15 (3x5) instead of 9 (3x3) arrows.
- Her Stomp's AoE will hit a second time after a brief moment.
- And more changes for all three Servants. Their attack patterns also change depending on the number of Servants alive,
The QueenTQatS[edit]
- Normal attacks cause Reality Slashes with different angles:
- Slash: Upwards angle
- Stab: Horizontal
- Lower-Stab: Downwards angle
- Special attacks cause Reality Slashes with different angles:
- Down-Strike: Vertical
- Dashing-Strike: Horizontal
- Her Melee Parry causes another horizontal Reality Slash.
- Is invulnerable during her Reality Slashes.
- Her 2nd Reality Slashes phase is faster.
Dracula - Final FormRtC[edit]
- During the flame pillar combo attack, the second and fourth attack also summons flames from the sides of the arena.
- The last attack of the laser breath combo attack destroys the platform it hits.
- At the end of the wall slide attack a bigger boulder falls down and temporarily destroys one of the platforms.
- All laser attacks have increased speed.
- When doing the big meteor phase transition attack more meteors fall down and the platforms fall apart quicker.
- The platforms also have a different, harder formation.
- The summon bats attack now summons 4 waves of bats in a row, each coming from a different side of the screen.
- Summon enemies attack now summons more enemies.
Gold[edit]
The gold values are vastly different in Boss Rush:
- Bosses drop 2500 gold.
- Selling:
- Items (including flasks) can be sold for 260 gold.
- Blacksmith:
- Rerolling affixes costs 200 gold with no cost increase.
- Upgrading an item costs 800 gold.
- Shops:
- Items cost 1750 gold.
- 1st reroll: 1950 gold.
- 2nd reroll: 2100 gold.
- 3rd reroll: 2300 gold.
- 4th reroll: 2450 gold.
- Items cost 1750 gold.
- Guillain (mutations):
- 1st reroll: free (before the first fight all rerolls are free).
- 2nd reroll: 2000 gold.
- 3rd reroll: 4000 gold.
- 4th reroll: 8000 gold.
- The cost caps at 8000 gold, but resets with each new Guillain.
Gear & Stats[edit]
The gear level of items from Boss Rush will be affected by the difficulty bonus (+1 level on 3BC and +3 levels on 4-5BC).
This is a table for all the gear levels:
| Location | Level |
|---|---|
| Starting Gear | 5 |
| Colourless Altar | 6 |
| T1 - Boss Drops | 6 |
| T1 - Normal Altar | 6 |
| T1 - Legendary Altar | 7 |
| T1 - Shop | 8 |
| T2 - Boss Drops | 7 |
| T2 - Normal Altar | 7 |
| T2 - Legendary Altar | 8 |
| T2 - Shop | 9 |
This is a table for the number of stats one has after interacting with the Stat-Stones:
| Boss Stem Cell | Tier 1 | Tier 2 | Tier 3 |
|---|---|---|---|
| 0 BSC | 11 main / 2 off stats | 17 main / 3 off stats | 21 main / 3 off stats |
| 1 BSC | 12 main / 2 off stats | 19 main / 3 off stats | 22 main / 4 off stats |
| 2 BSC | 13 main / 2 off stats | 20 main / 3 off stats | 23 main / 4 off stats |
| 3 BSC | 16 main / 2 off stats | 22 main / 4 off stats | 28 main / 4 off stats |
| 4 BSC | 16 main / 2 off stats | 24 main / 4 off stats | 28 main / 4 off stats |
| 5 BSC | 16 main / 3 off stats | 26 main / 4 off stats | 30 main / 5 off stats |
Strategy[edit]
- Minimizing the instances the player can get hit is the best way to flawless any Boss Rush.
- Items such as , and in combination with increase the damage output significantly. Additionally mutations such as (for brutality) can be used to further improve the damage output.
- Items such as , and, to a lesser extend, can be used to mitigate getting hit.
- Since there are no achievements related to boss rush mode, Custom mode can be used with no penalties.
- A sure way to succeed in the no-hit difficulty is to use the miscellaneous modifiers "All weapons and skills are legendary", "Unlimited ammo", etc. with items such as .
History[edit]
|
| Navigation wiki | |
|---|---|
| (map) • • • • • • • • • • • • • • • • • • • • | |

